The map table and the gun yard
Shellfall is played from two places: high above the watercolour war, and down in the clay gun yard beside Old Marta. A short dive through the clouds joins them.
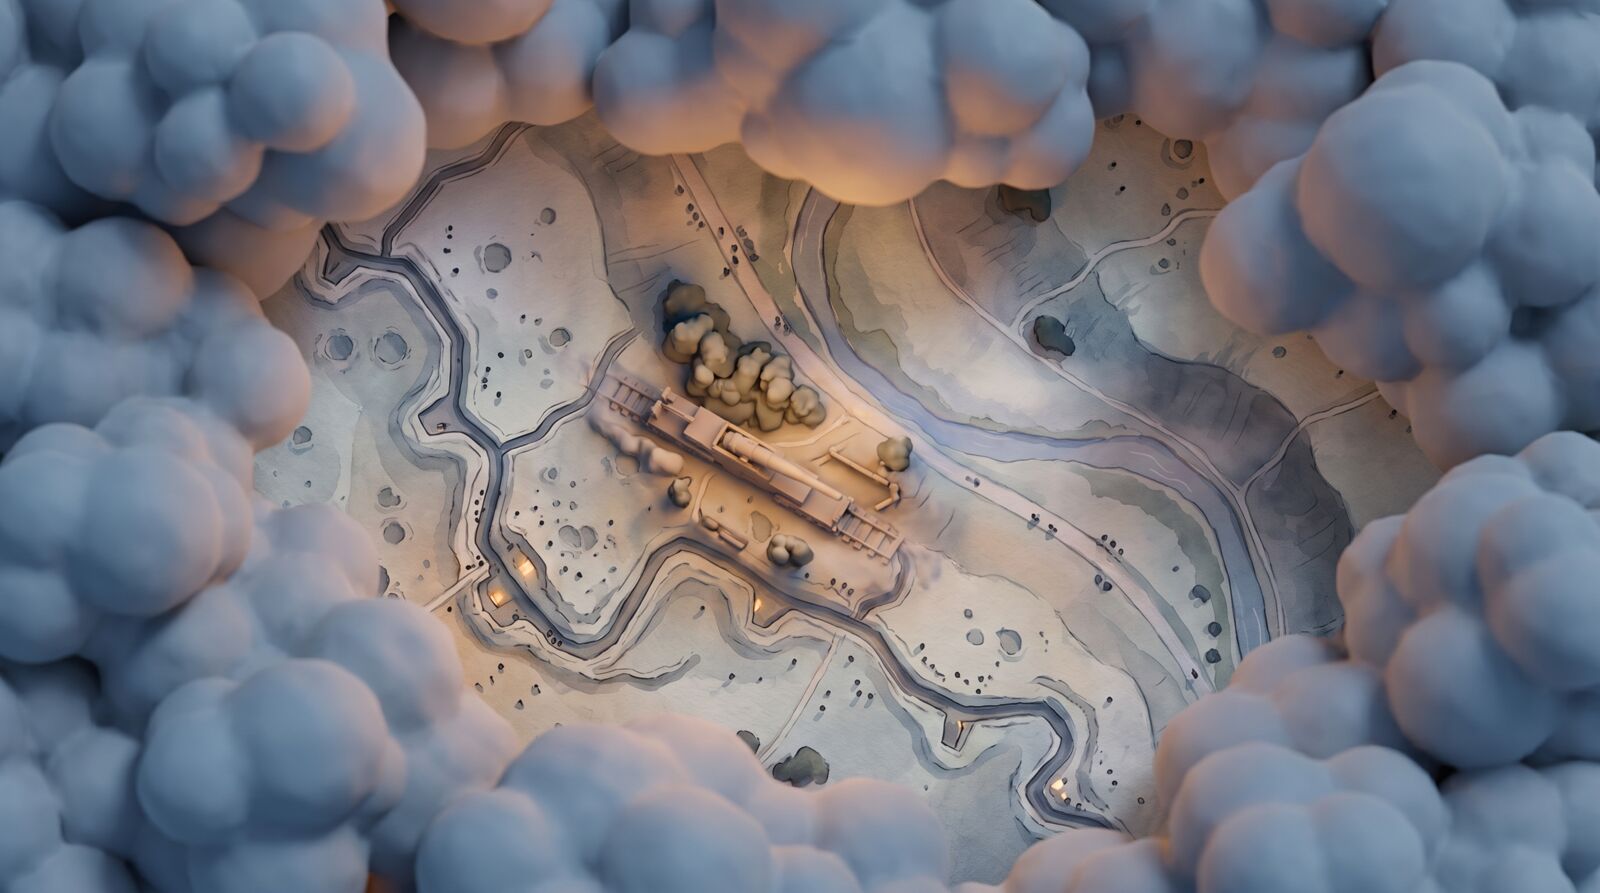
Most of Shellfall is played from far above the war, looking down on a watercolour painting of the Lowmarch. The only close-up in the game is Old Marta herself, in soft clay. Between the two lies a band of cloud, and one key takes you through it.
Four views, two styles
| View | When | Style | What you see |
|---|---|---|---|
| Bird's-eye battlefield | Most of the game | Watercolour | Terrain, trenches, craters, woods, villages, rails, and soldiers as tiny figures 3–8 px tall |
| Map table | Planning, the war map | Watercolour | The whole valley; soldiers become ink dots; unknown ground is blank paper |
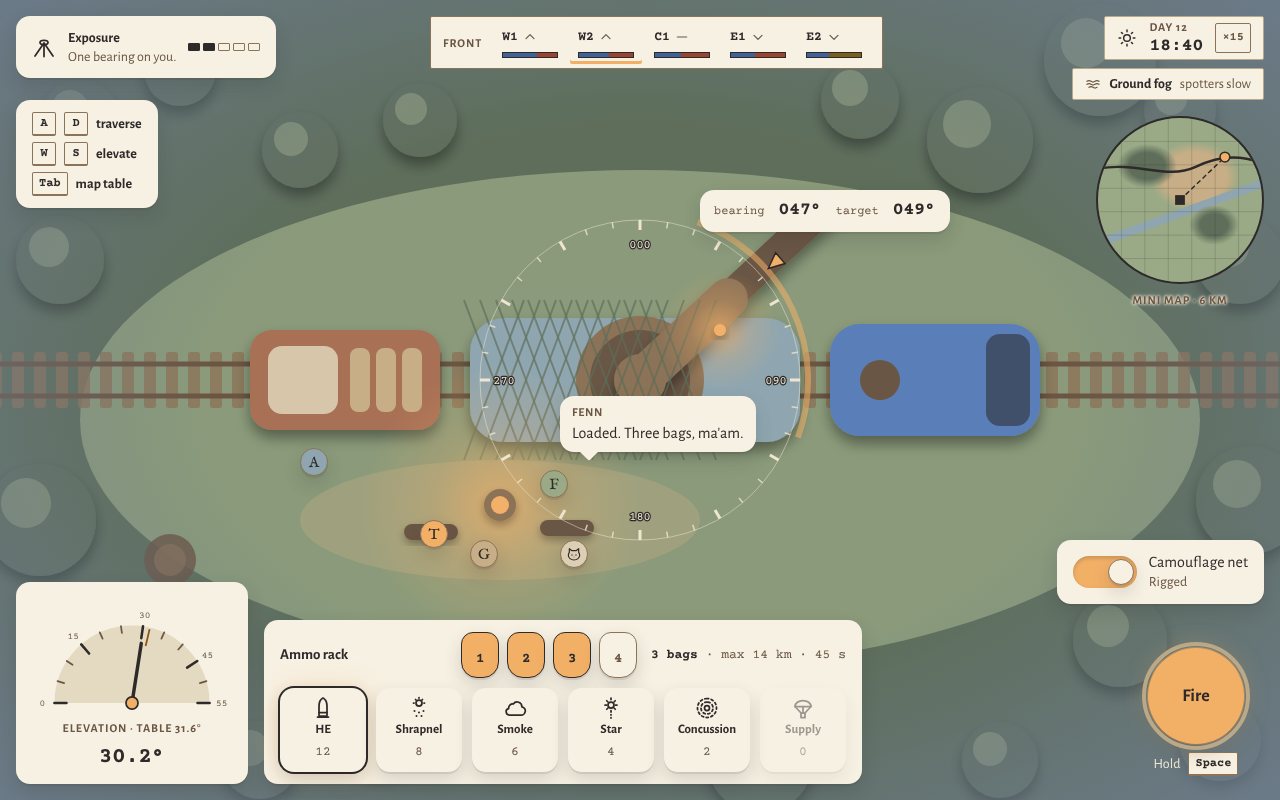
| Gun yard | Zoomed onto the gun | Clay | Old Marta, Pudding, the wagons, the siding, the crew by the fire, Pip |
| Cockpit | Closest zoom on the gun | Clay | First person: the elevation wheel, bearing scale, dials, firing table, lamp and tea |
Above the war
The bird's-eye camera looks almost straight down. You never zoom in close on the war: the closest battlefield zoom shows about 500 m across, where soldiers are small figures, trenches are lines with bays, and craters and trees are readable shapes. Nothing smaller is drawn. Zoom all the way out and the same world becomes the map table, with Fog of war and the intel layers on top. This is where you find targets, read bearings and ranges, send Recon: spotters, balloons and planes and choose your next siding.
Down at the gun
Zoom onto Old Marta and you drop into the gun yard, where you see her from above on her siding. The bearing ring sits around the gun, the elevation dial bottom left, the ammo rack and charge bottom centre, and the exposure meter top left. Zoom further and you are in the cockpit: the only first-person view in the game. The battlefield itself is never shown in clay. See Old Marta.
The cloud dive
Press Tab, or Select on a gamepad, to switch between the battlefield and the gun. The camera dives through a band of soft clay clouds. For a moment they cover the whole screen, and that is when the picture changes from watercolour to clay. Zooming out rises back through them. It takes about 0.8 s each way. With reduced motion on, the dive becomes a cut. See Accessibility.
What both views share
Some things stay on screen wherever you are, so switching views never hides an alert.
| Element | Where | Shows |
|---|---|---|
| Front status bar | Top centre | Supply and strength of each sector in reach |
| Wind and weather | Top right | Wind direction and speed, rain, visibility, the war clock |
| Radio log | Right edge | Spotter reports, orders, incoming-fire warnings |
| Gunner's notebook | Slides out on the left | Pinned targets, solutions, stale markers, letters |
| Subtitles | Bottom | Every radio and crew line |
Each view also keeps a small window onto the other. In the gun yard and cockpit, a round watercolour mini map shows your target pins and the line of your current bearing. On the map table, a small gun window shows the exposure meter. While a shell flies, a marker follows its arc across the map. See The shot and Controls.